- Search
- 1.877.235.1004
- Contact Us


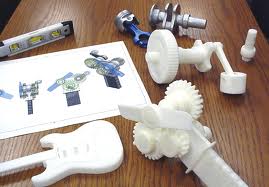
Category: Prototyping
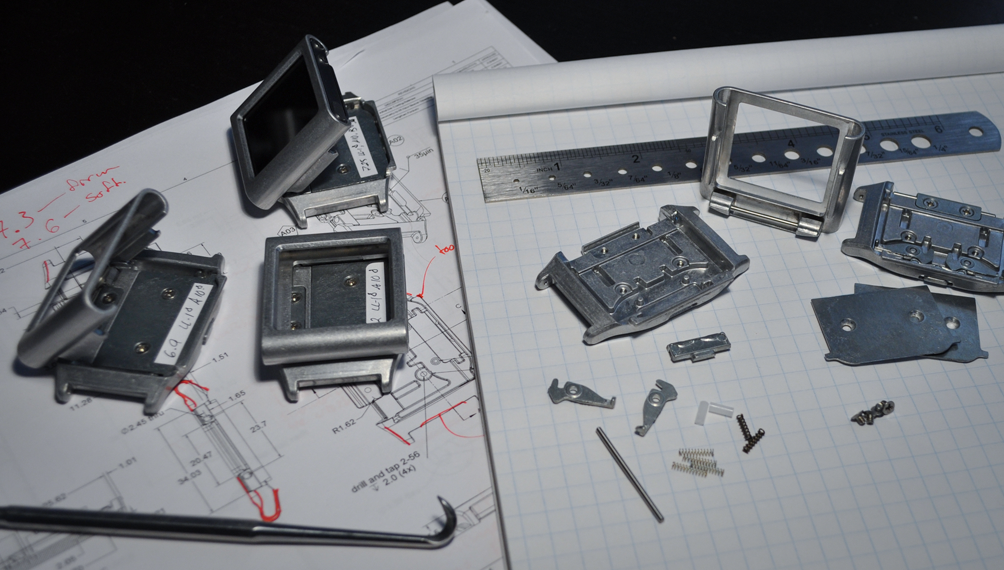
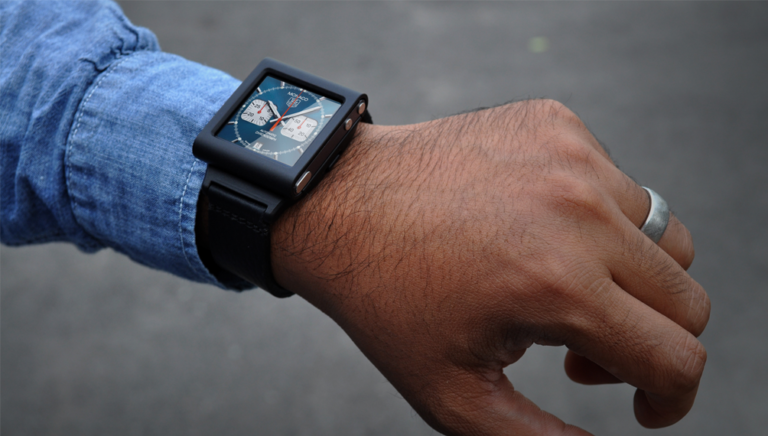

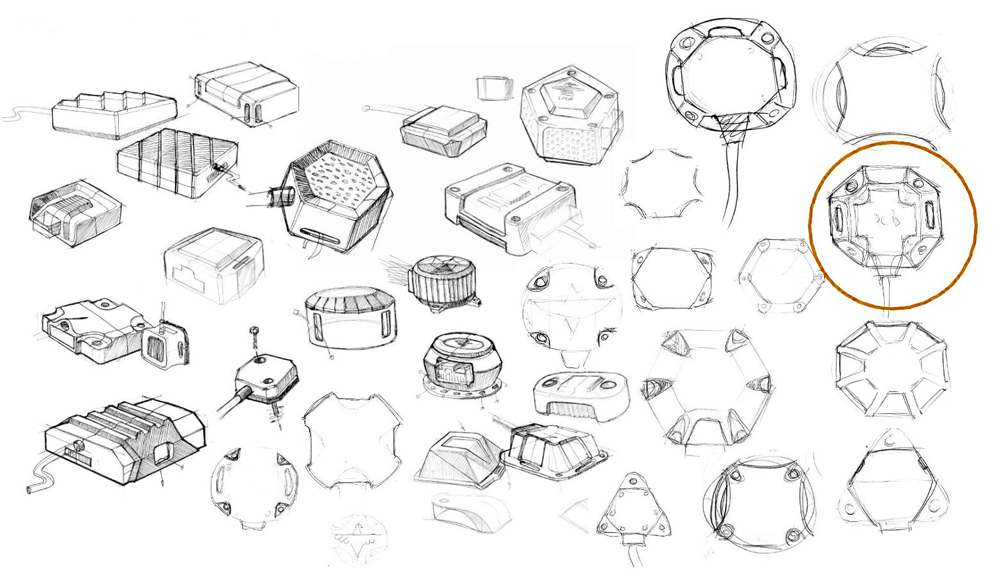
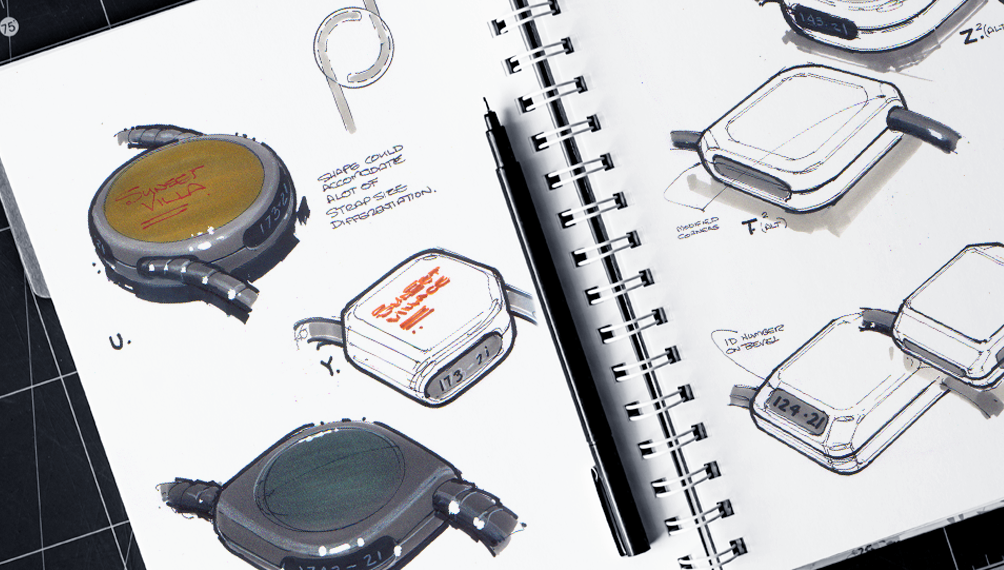
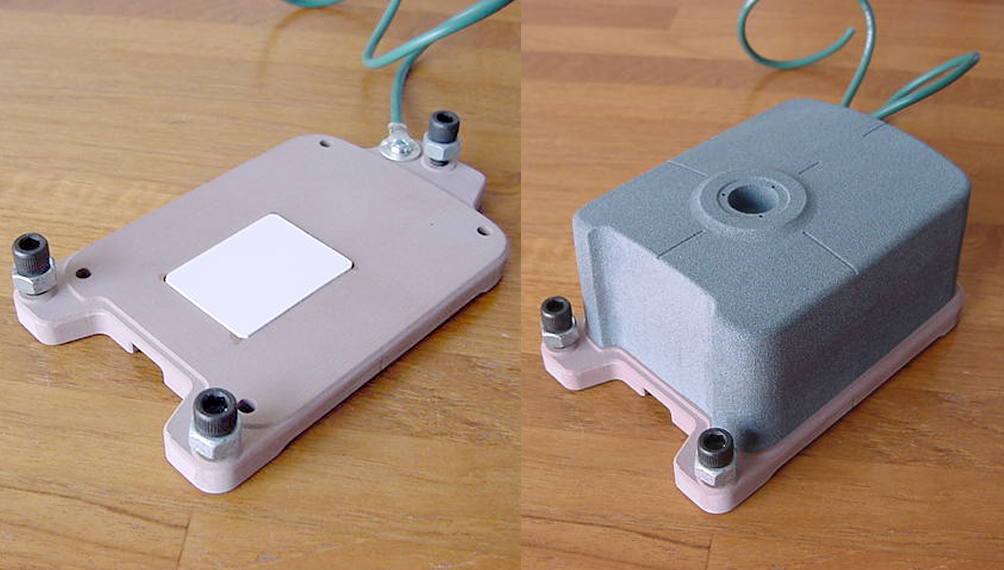
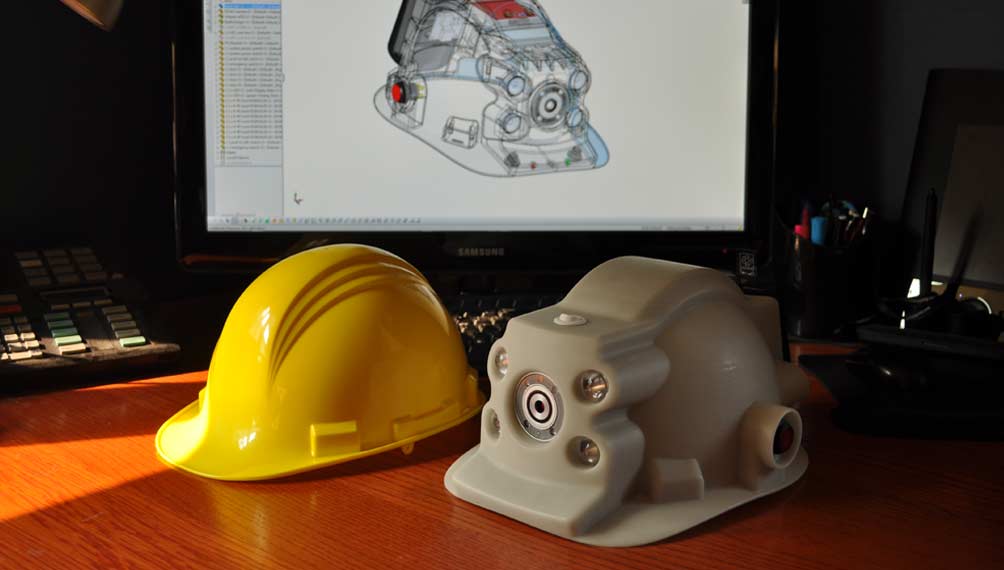
The 6 Types of Prototyping Every New Product Must Do


Published on: February 27, 2023