
A Baby Bottle Is Five Parts and a Hundred Decisions
What happened between that list and the shelf: venting, nipple geometry, the material gate nobody asks about, and what actually came off the first tool.
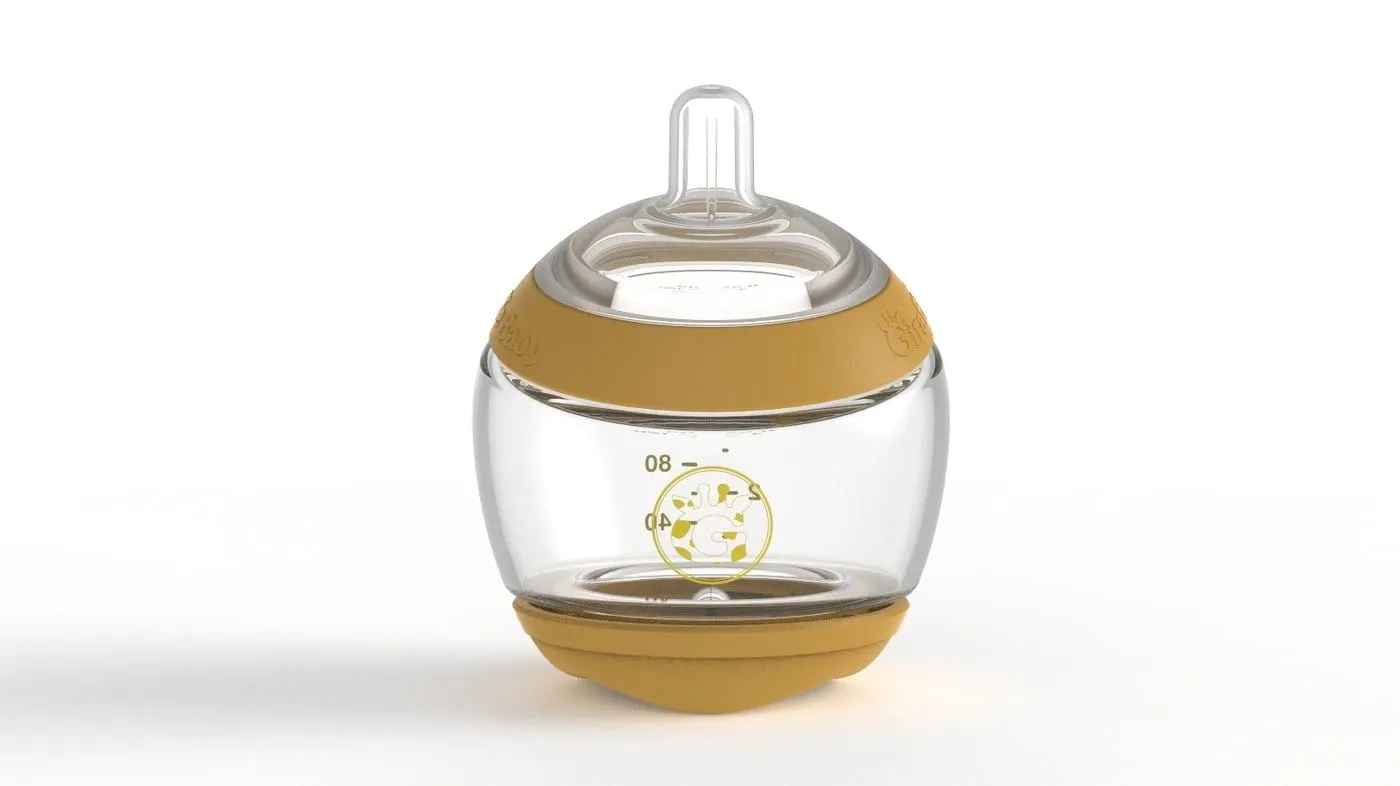
In October 2014 a client sent us a list of twelve things their baby bottle had to do. Item seven was "easy to assemble (include 3-5 parts)."
That's the whole problem in one line. They weren't asking for a shape. They'd counted the parts on the bottles in their own kitchen, decided the count was too high, and written the ceiling into the brief before anyone drew anything. Most briefs arrive the other way round, with dimensions already fixed by someone who hasn't yet agreed what the problem is, and the first month goes on undoing them.
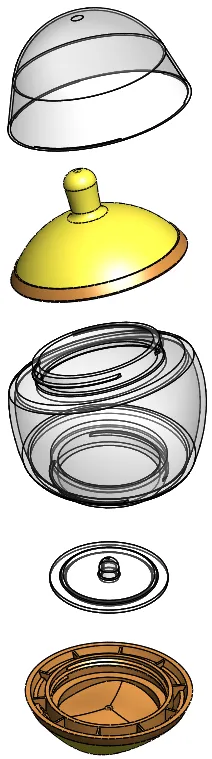
We built it. Five parts: a dome cover, a nipple, the bottle body, a one-way silicone air valve, and an overmolded base. Two volumes, 120 ml and 240 ml, four nipple flow stages. It went to market in China.
Here's what happened between the list and the shelf, because that gap is where founders lose eighteen months and a tooling deposit.
The brief was written by a parent
The twelve requirements weren't specifications. They were complaints, phrased as demands.
Not one of those is a dimension. Every one eliminates geometry, and several of them fight each other. A wide neck makes the seal harder, because a bigger diameter asks the same sealing geometry to hold a leak-proof interface across more circumference, with more tolerance stack available to go wrong. Transparency cuts your material list to almost nothing. The 30 degree nipple axis has to come from somewhere, and wherever you put it changes the product.
A client should write a brief this way. They own the problem, we own the geometry.
Air is the actual product
Everything an anti-colic bottle claims comes down to one question: where does the replacement air come from?
A bottle empties. Something has to fill the volume the milk left behind. When the answer is "through the nipple," the baby is drinking air, and swallowed air is what wakes the house at 2am. The whole category is designing around that single failure, which is why the shelf is full of tubes, discs, straws and vented inserts.
We looked at duckbill and umbrella valves, the two standard one-way geometries, and put the valve in the base. Air enters underneath the milk. Pressure equalises as the bottle drains, and the milk column never gets stirred.
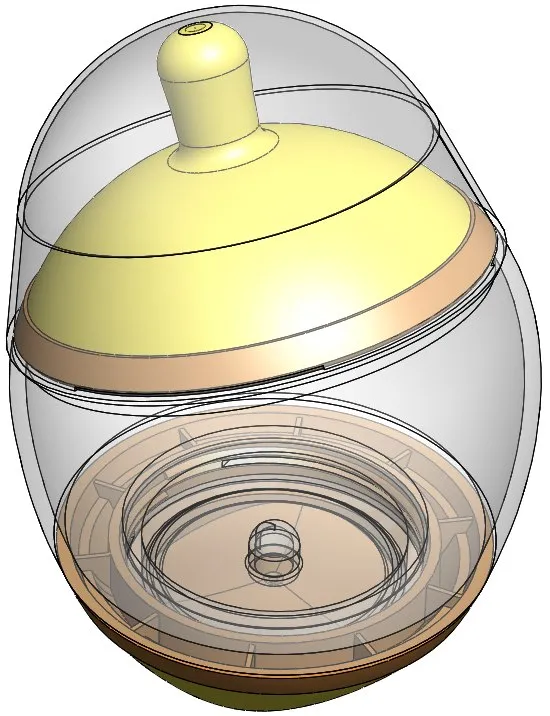
Putting it there is also the cheaper answer, which isn't a coincidence. Every alternative added parts, and the client's five-part ceiling had killed most of them before we drew them. A good constraint earns its keep that way, eliminating bad options for free, months before you'd have found out the expensive way.
An insert also adds a surface. Every part of a baby bottle gets washed by a tired adult at midnight, and interior geometry a brush can't reach isn't a feature, it's a warranty claim waiting eighteen months to arrive.
Thirty degrees, three different products
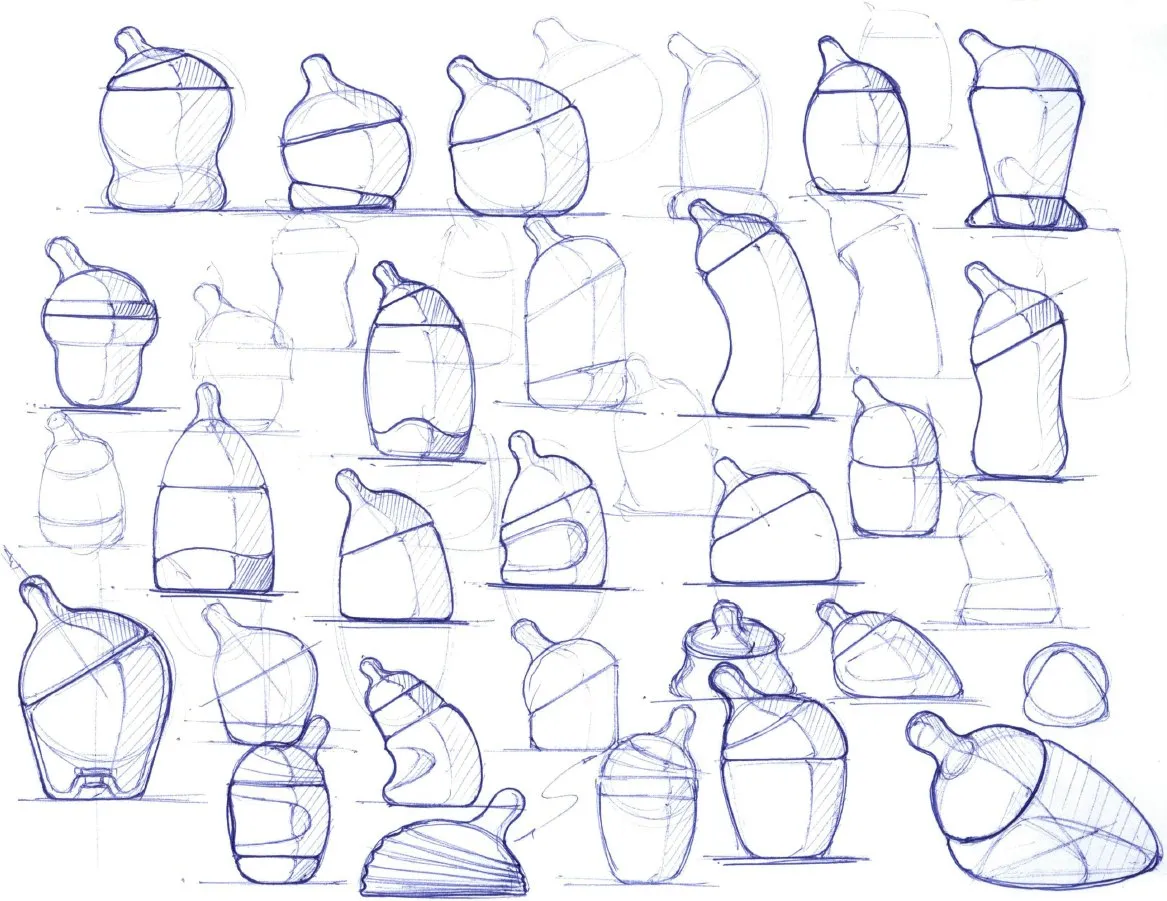
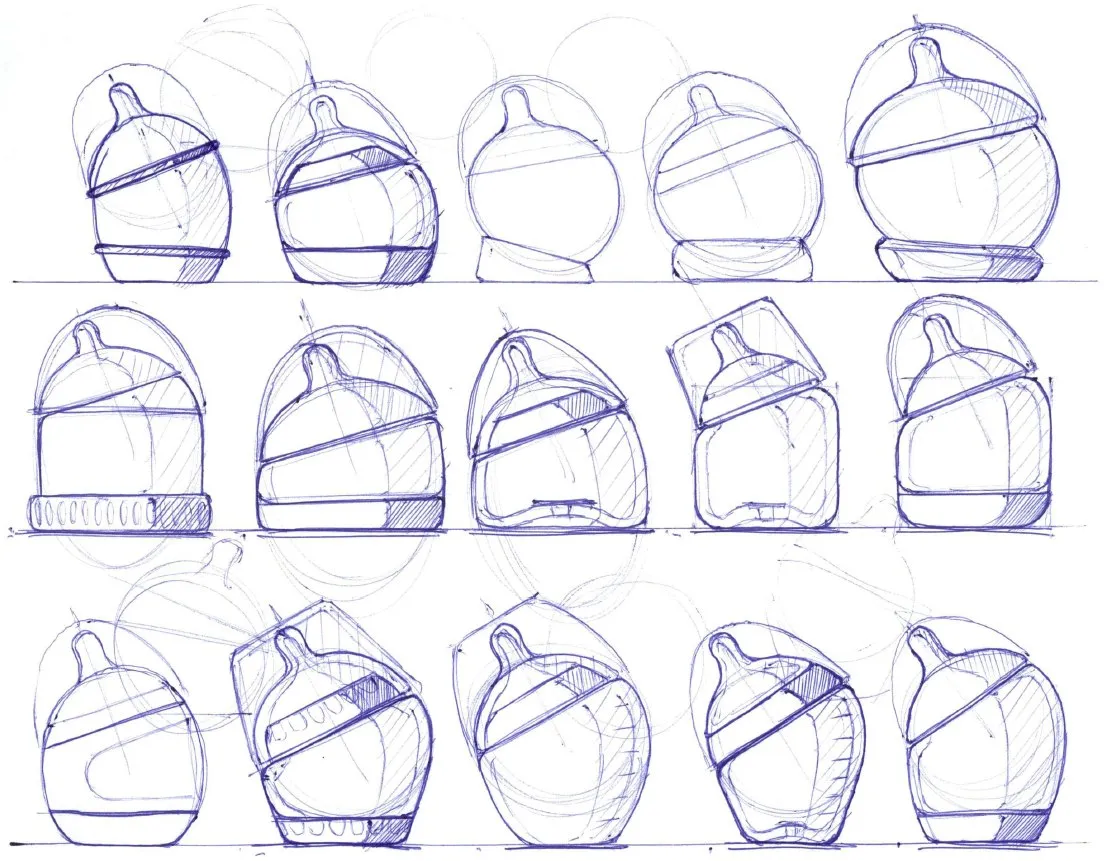
There are three places to put the angle the brief asked for. Build it into the nipple, so the teat leans off a straight body. Build it into the connector ring underneath. Or bend the bottle itself.
We modelled all three. That's a product decision more than an engineering one. Each option puts a different object on the shelf next to a competitor: a bent body is a statement, an offset nipple on a symmetrical body is quiet, and each one hands your tooling a different parting line, which is the part nobody thinks about until the quote comes back.
BPA-free is table stakes. Hydrolysis is the gate.
We evaluated bio-based PLA, Tritan copolyester and transparent polyamide. PLA is the interesting one on paper: derived from corn starch, tapioca or sugarcane, genuinely bio-based, and for a baby product in 2014 that's a story worth having. We researched it down to specific grades.
What decided it wasn't clarity and it wasn't food contact approval. It was hydrolysis.
A baby bottle gets sterilised. Steam, boiling water, a microwave steriliser bag, daily, for a year or more. Plenty of plastics pass a food-contact test and then cloud or craze after four weeks of that, at which point the bottle has failed the transparency requirement written three lines further up the same brief, just slowly enough that nobody catches it before tooling.
Every material spec sheet carries a BPA-free stamp and a food-contact approval. Almost none of them carry a boil-cycle count, and the boil-cycle count is the number that separated these three candidates on a product a parent sterilises daily for a year.
Four nipples a parent has to tell apart at 2am
Four flow stages, newborn through toddler. Stages are worthless if the person holding the bottle can't tell which one they've got.
So you mold the identifier into the nipple. Fine. Except a nipple is a silicone part out of a tool, and the moment you need four versions differing only by a marking, you've stopped solving a legibility problem and started solving a tooling economics problem.
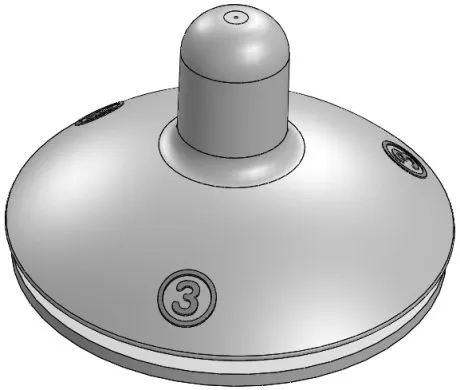
Four options got costed: three mold inserts with three changeovers, three inserts with one changeover using two blank inserts, the same with two logo inserts, and a single insert with one changeover. Each trades tooling spend against how often you stop the line, and both of those land in the unit cost of a product that retails for a few dollars.
That's the paragraph a founder should read twice. A requirement that sounds like graphic design turned into a mold-insert strategy. It happens in every category, and it's the most common place a founder's cost model quietly breaks. The feature is cheap. Manufacturing the feature is not.
Then you cut the tool, and the product tells you what it thinks
Bottle bodies are blow molded. Cap, connector and base are injection molded. Nipple and valve are silicone, each on its own tool, each with its own cavity count and its own way of coming out wrong, on lead times running twelve to sixteen weeks before you see a single part.
T1 is the first shot off the production tool, and T1 is never right. Across three rounds between September and November 2015 we went through the first-off parts and wrote up what came back, part by part, instead of eyeballing them and moving on.
Striations on the inside walls. Rippling. Pinhole pockets in the surface. A top and bottom lip that was flat but not smooth, thickened in places, with an edge left sharp from cutting. Pad printing that varied in saturation, didn't fill the graphic in places, and scratched off where the surface was rough.
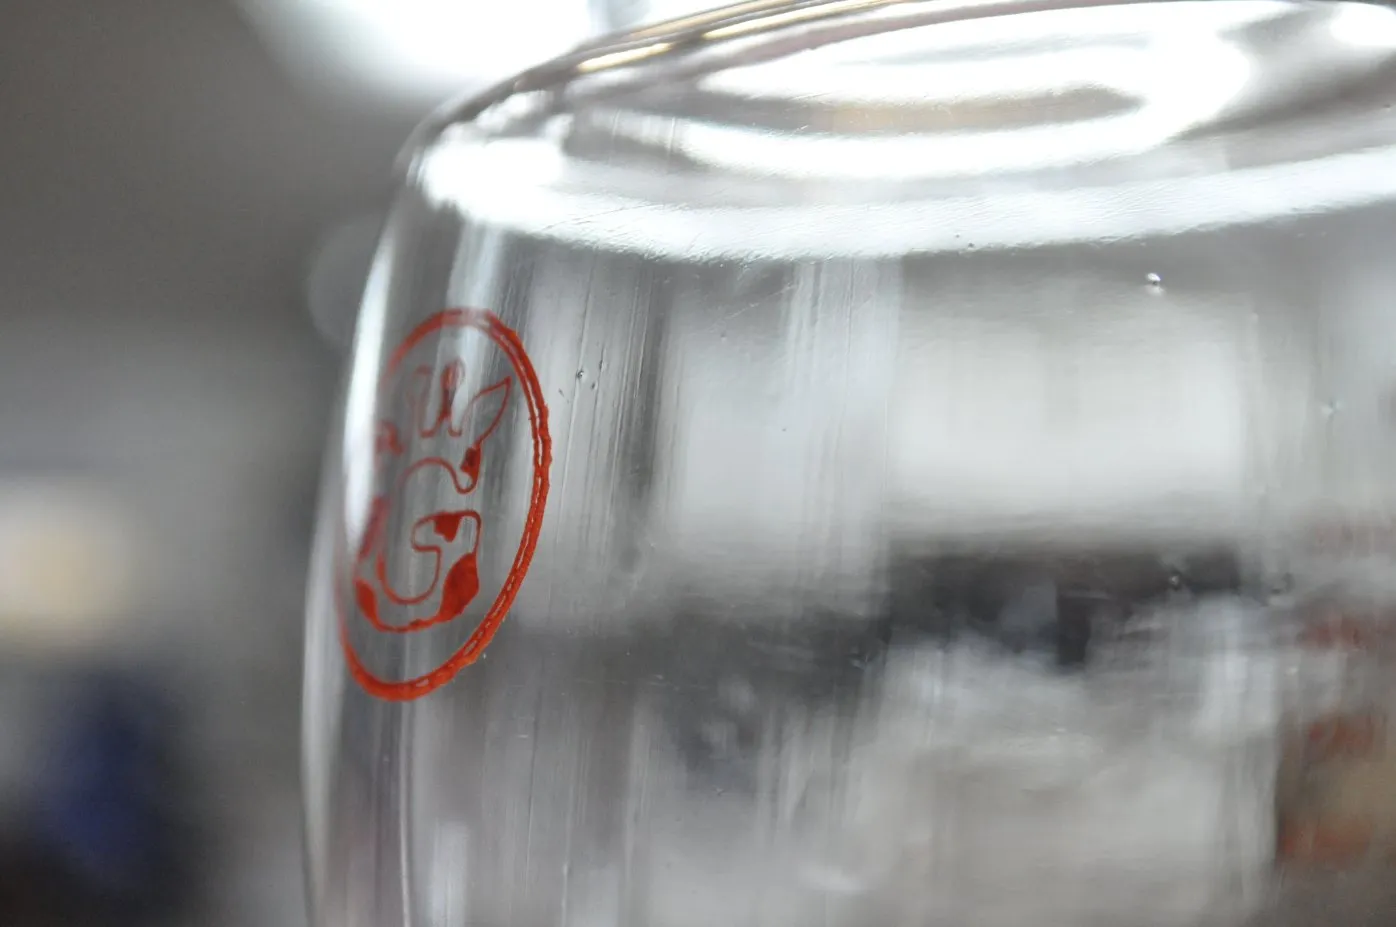
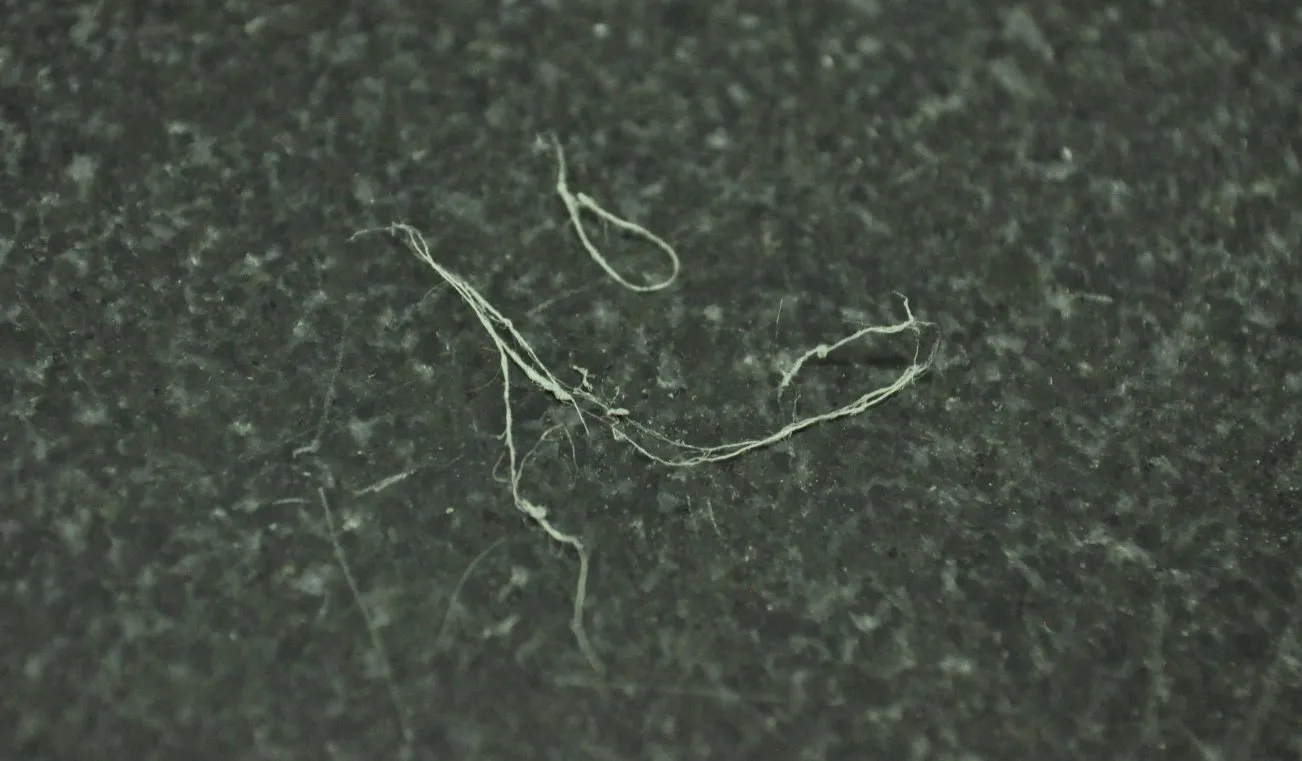
And the best one: the cut lip was shedding fibres. Twist the bottle against the silicone part it mates with and fine strands came away and stuck to the silicone.
None of that is a design failure. All of it is normal. The neck and lip were toleranced to a tenth of a millimetre on diameters in the mid-fifties, because that lip is the sealing surface and the silicone mating surface at the same time, and a tenth of a millimetre there decides whether a bottle full of formula leaks into a changing bag.
What matters isn't that first parts come out wrong. It's whether someone is looking at them properly, part by part, with a camera, and issuing it back to the molder in a form they can act on. That work is unglamorous, and it's the difference between a product and a tooling deposit you don't get back.
What the photo render image of the product doesn't tell you
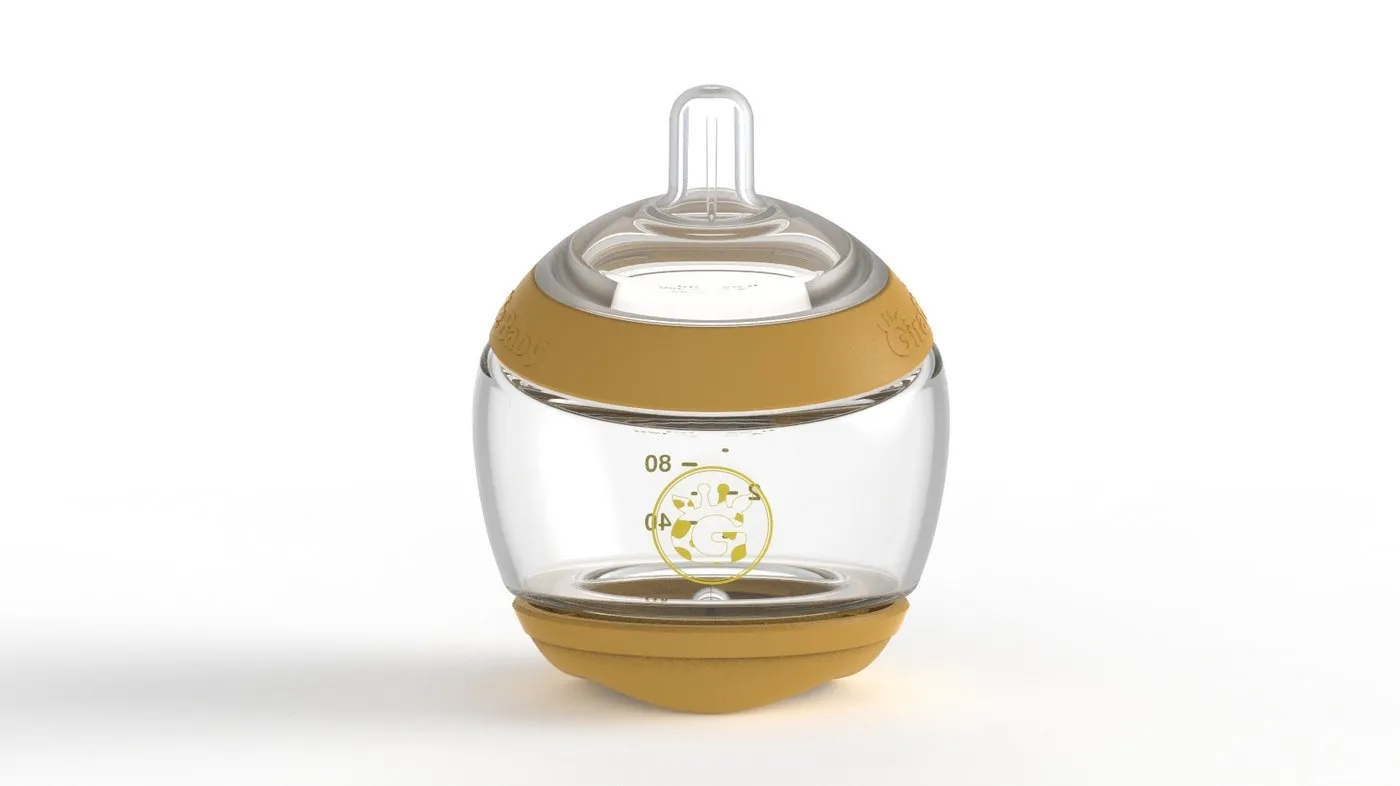
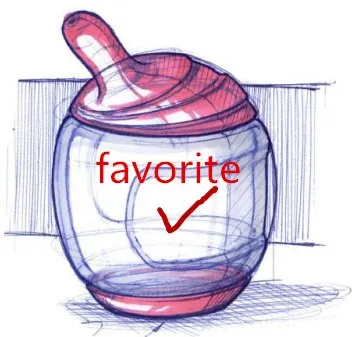
Early in every project is a marker sketch of an ovoid bottle with a red check mark against it and the word "favorite" in the designer's handwriting. That moment is real, and it generally happens in the first two weeks of a program that ran two years to get the product to market.
Avoid seeing this photo render image and the team that sells that check mark as the finish line. A design firm that stops at a beautiful image and hands a founder a rendering deck and 3D CAD geometry of the parts has sold the cheapest five percent of the job at the price of the whole thing, and the founder doesn't find out until T1 off-tool parts come back wrong. Tools are the most expensive purchase a first-time hardware founder makes, because nothing in a render tells you your lip finish will shed fibres onto the silicone, that your stage markings just became a mold-insert decision, or that the material with the best visual look and story goes cloudy after a month of boiling.
Before you commission a molded consumer product, ask who's writing the control drawings and what tolerance goes on the sealing surfaces, ask who inspects T1 and whether you get photographs, and ask what the cavity strategy does to unit cost at your actual volume rather than at 100,000. For a feeding bottle you're also inside CPSIA in the United States, the EU Toy Safety Directive, JPMA certification in North America and Health Canada testing, and none of that is optional or fast.
The shape was the easy part.
FAQ
How many parts does a baby bottle have?
A typical anti-colic feeding bottle is four to six molded parts. The Giraffe Baby bottle is five: a dome cover, a nipple, the bottle body, a one-way silicone air valve, and an overmolded base. The client set the ceiling at three to five parts in the brief, and holding to it forced the venting into the base rather than into an internal insert, which turned out to be both the cleaner fluid path and the cheaper tool.
How does an anti-colic baby bottle work?
As a bottle empties, air has to replace the milk that left. If that air enters through the nipple, the baby swallows it, which is the cause of the gas anti-colic bottles are sold to prevent. An anti-colic design admits the replacement air by a separate path. On this bottle a one-way silicone valve seated in the base lets air in below the liquid line, so pressure equalises without the air ever passing through the milk.
What material are baby bottles made from?
Common candidates are Tritan copolyester, polypropylene, transparent polyamide, glass, and bio-based PLA. BPA-free status and food-contact approval are table stakes and rarely decide the choice. The binding constraint is resistance to hydrolysis under repeated steam and boiling-water sterilisation, because a material that clouds or crazes after a few weeks of daily sterilising has failed a transparent product regardless of how it performed when new.
What certifications does a baby bottle need?
A feeding bottle sits in the children's product regime. In the United States that means CPSIA. In Europe it means the EU Toy Safety Directive. In North America JPMA certification applies to juvenile products, administered through an independent test lab. In Canada, Health Canada testing applies. The regulatory path should be mapped and costed during design, not discovered after tooling.
How long does it take to develop a baby bottle?
This program ran from the client's requirements list in October 2014 through production tooling and first-off inspection into 2016. Tooling lead times alone ran twelve to sixteen weeks per tool, and first-off parts needed three documented rounds of inspection and correction before quality was acceptable. Budget for the tool-correction loop; it is normal and it is not fast.